How to Use This Tool
- Compare the same text in another application and, where available, another display. Note what changes.
- Select the operating system and record the affected display’s resolution and scaling from its settings.
- Follow the suggested branch, change one reversible setting at a time and compare again.
Calculation Method
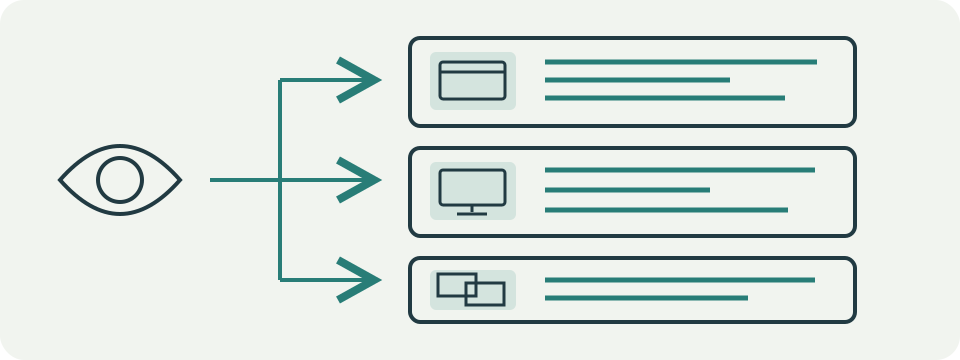
One-application blur leads to application zoom, current-version and scaling checks. Whole-display blur leads to the chosen display’s resolution and scaling. Windows 11 uses Settings > System > Display; current macOS uses System Settings > Displays. Other versions can use different controls.
Worked Example
An older application looks soft while Windows Settings stays sharp on the same display. Start with that application’s version and scaling behavior; this observation does not justify replacing the monitor.
Describe the Blur Before Changing Settings
Use the five questions to record the operating system, affected scope, selected resolution, scaling choice and what happened when the same application moved to another display. The result is a list of checks tied to those answers. It is not a camera test, panel scan or diagnosis.
Blur, small text and an absent signal are different problems. Text can be sharp but too small because the scale is uncomfortable. A whole image can look soft because the display is not using its native mode. One old application can be blurred while the desktop remains sharp. Start with the narrowest accurate description.
| Observation | First comparison |
|---|---|
| One application is soft | Reopen that app on the affected display and compare its own zoom |
| Everything on one display is soft | Compare the selected resolution with the display manual |
| Size changes between displays | Record the scale selected for each display |
| Text has coloured fringes | Check the connection path and displayed signal format |
| The display shows no signal | Use connection troubleshooting before scaling |
Keep Resolution, Scale and Zoom Separate
Resolution describes the pixel grid sent to the display. Scale changes the logical size of system interface elements while normally retaining the selected resolution. Text-size controls affect supported text, and application zoom changes content inside one program. Changing all four together removes the evidence needed to tell them apart.
Compare the selected mode with the resolution described as native, default or recommended by the operating system and display maker. Do not force a lower resolution simply to enlarge text. Try the recommended scale for that screen, then adjust one level at a time for readability. A recommended label is a starting point, not proof that every app will render correctly.
Use Scope to Choose the Next Branch
When only one application is blurred, update or restart that application after moving it to the target display. Record its zoom and any compatibility setting you change. When menus, icons, photos and text are all soft on one screen, check resolution and the display input before using app-specific fixes.
When the same app changes after moving between a laptop panel and an external display, different pixel densities and scale factors are relevant evidence. Close and reopen the app on the display where it will be used. Do not copy one percentage to every screen automatically. Two displays with the same pixel dimensions can need different readable scale because their physical sizes differ.
Test the Display Path Without Buying Parts
A direct connection with a known suitable cable can separate the display path from a dock, converter or KVM. Keep the resolution and refresh rate constant during the comparison. A stable direct result narrows the path, but it does not prove that a dock is defective. Power, firmware, lane sharing and adapter direction may still matter.
Soft coloured edges can occur when a television or display path treats the computer signal as video with reduced chroma detail. Use the display and graphics documentation to confirm the input label and format. Do not infer HDMI or DisplayPort bandwidth from connector shape. A blurry but stable image is not automatically a bad cable.
Compare a Screenshot with the Physical Screen
Take a screenshot of the affected application and view it on another known-sharp display at 100% zoom. If the softness is visible in the captured pixels, the application, remote session or rendering path deserves attention. A physical-panel effect, display sharpness control or link-format issue may not appear in the screenshot.
Screenshots can be rescaled by messaging apps, browsers and remote-desktop software. Keep the original file and record the zoom used to inspect it. A phone photograph is useful for documenting the physical appearance, but focus, moiré and camera processing prevent it from being an exact measurement.
Use One Reversible Change at a Time
Write the before state, make one change, reopen the affected app when required and compare the same text. Useful changes include returning to the recommended resolution, removing a custom scale, testing the app at 100% zoom or bypassing one adapter. Restore the original state before trying the next branch.
Avoid registry edits, random driver packages and global compatibility overrides as first steps. An app-specific override can alter menus, hit targets and rendering. Use the exact operating-system or application instructions and keep a path back to the previous setting. A result that improves one program but harms others belongs in the record.
What the Result Means
The result cards are checks, not probabilities. An application card means the answers make an app-specific comparison useful. A display card means resolution or whole-screen scope needs attention. Scaling, Windows, macOS and connection cards point to documented branches. Several cards can be valid because a mixed-display problem can involve more than one stage.
The page cannot read the active resolution, scale factor, subpixel layout, cable, colour format or panel condition. It cannot certify sharpness or identify a failed component. Use the exact display model, computer model, operating-system version, input and reproducible scope when asking official support for help.
What the Result Means
The page cannot read native panel resolution, diagnose a driver or measure text sharpness. Browser zoom, remote sessions and application rendering can alter the comparison. Recommended settings depend on the display and platform. Keep needed readability settings; 100% scaling is not a universal fix.
Common Questions
Does Changing Scaling Always Solve Blur?
No. Scaling and resolution are different controls, and applications handle scaling differently. Record the existing setting and compare one change before deciding it helped.
What Should I Check with Two Monitors?
Select the affected monitor in the system’s display settings. Compare the same application on each display and reopen it after a settings change where needed.